Kara Paints
  • home
  • Blog
  • Artwork
  • Contact
  • SHOP
  • Newsletter sign up
  • Downloads

Doodle all the day

6/26/2015

 
Picture

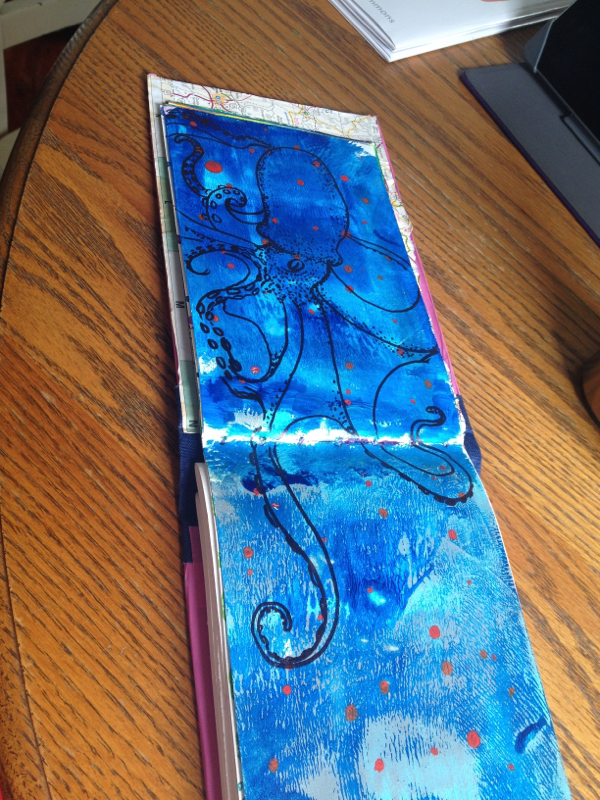
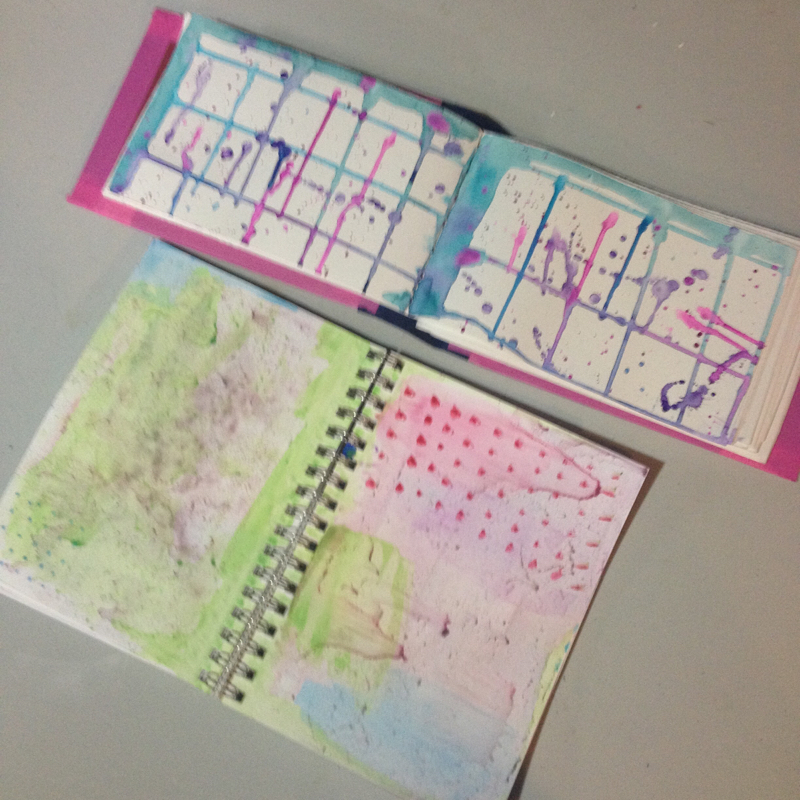
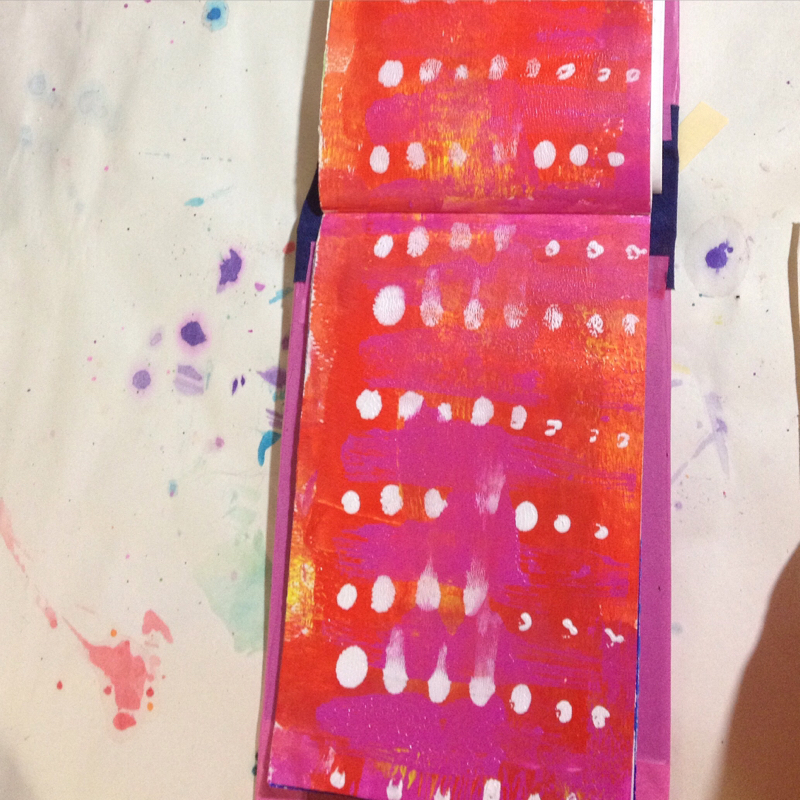
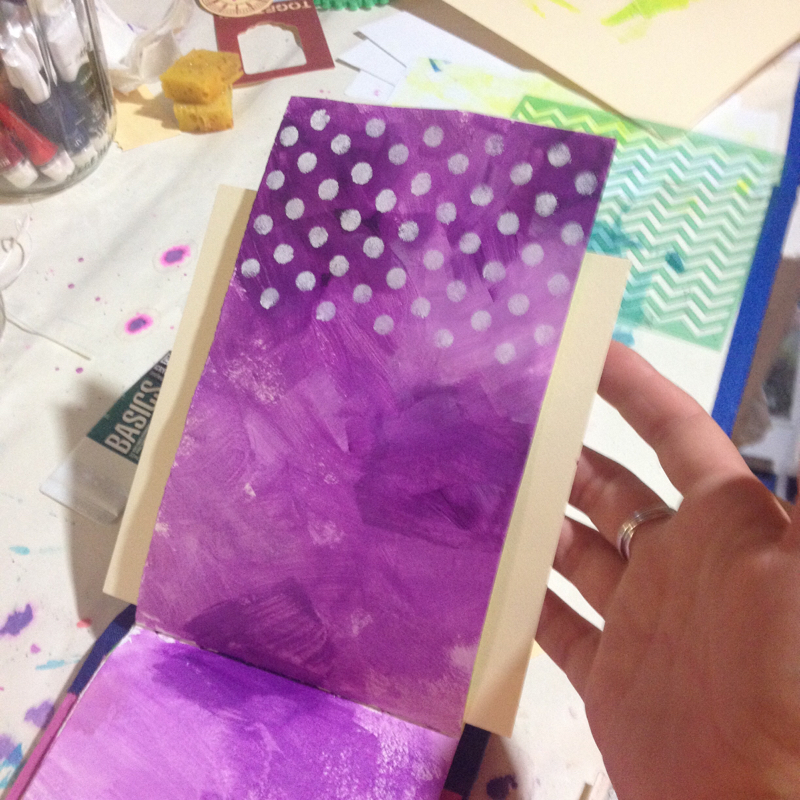
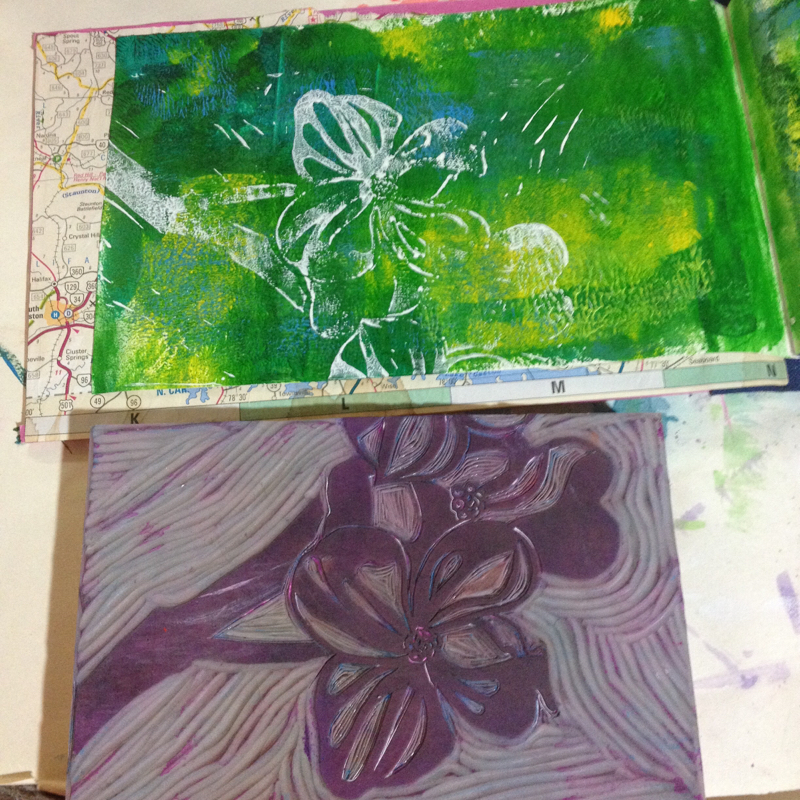
I have been loving the art journal backgrounds that I created in the online class I took. I love the idea of pulling color combinations from life and mixing them up in new ways. The background above was inspired by a geometric print throw pillow I saw. But once I saw the colors in my journal, I knew that the pages needed an octopus.

Picture

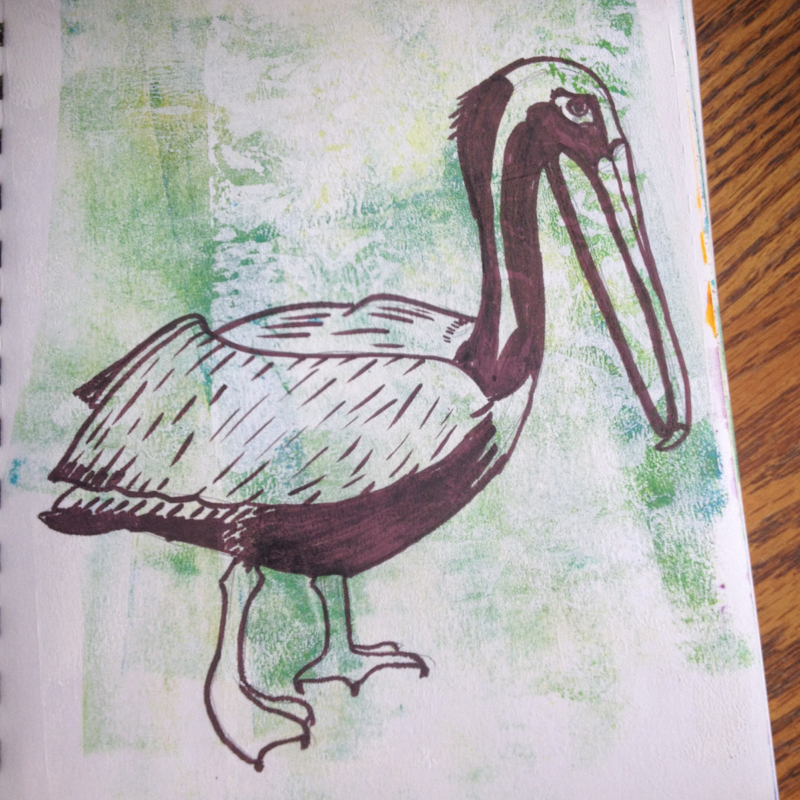
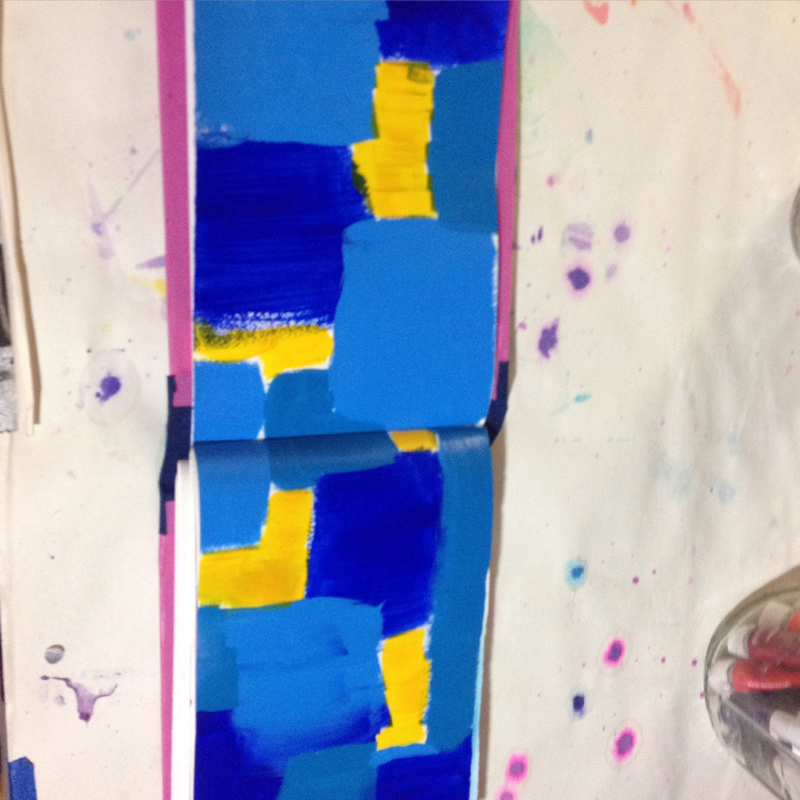
And this page was just where I was getting rid of excess paint that was on my brayer. But how great does this pelican go with those shades of green?

Picture

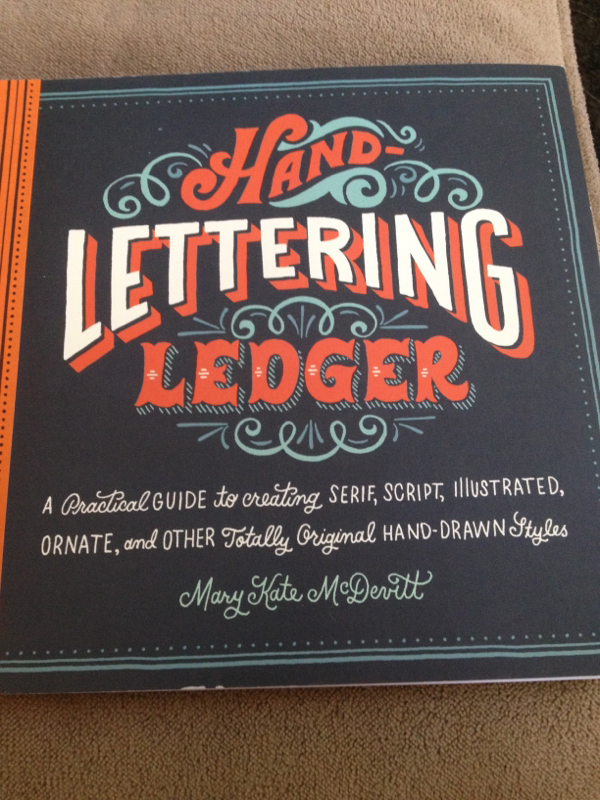
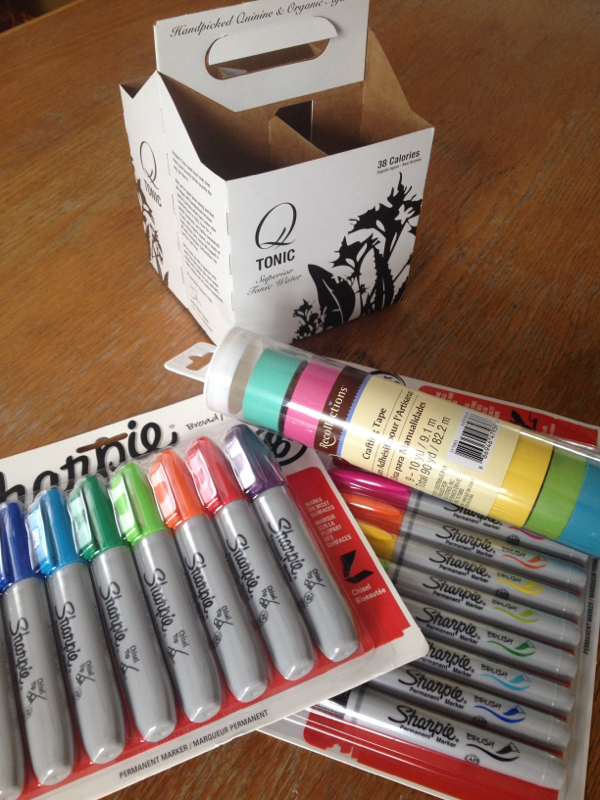
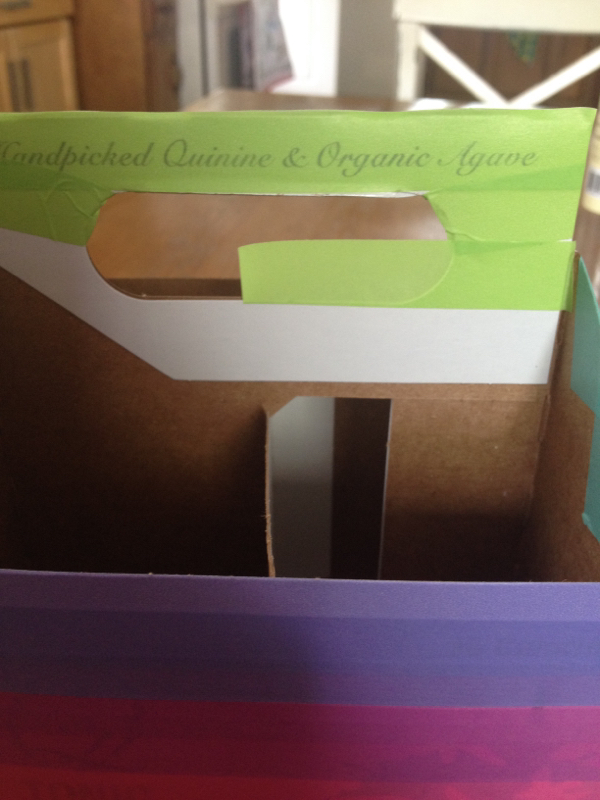
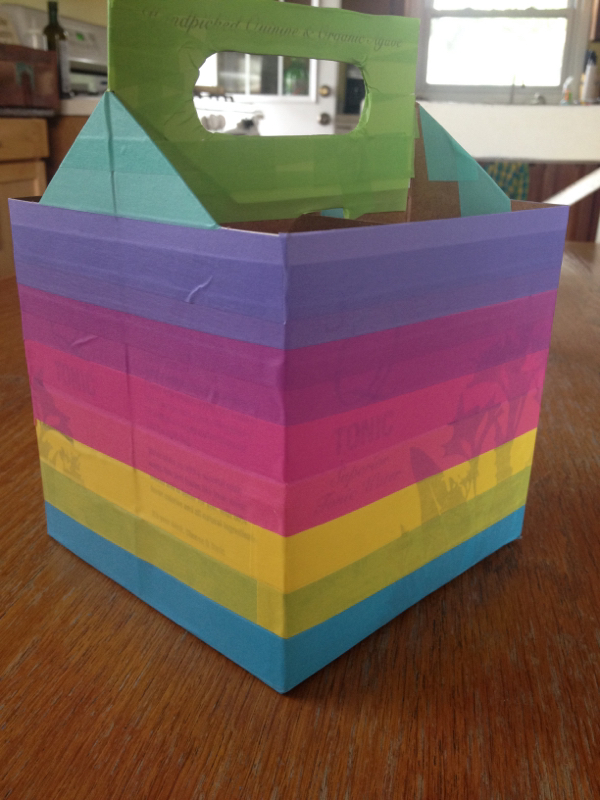
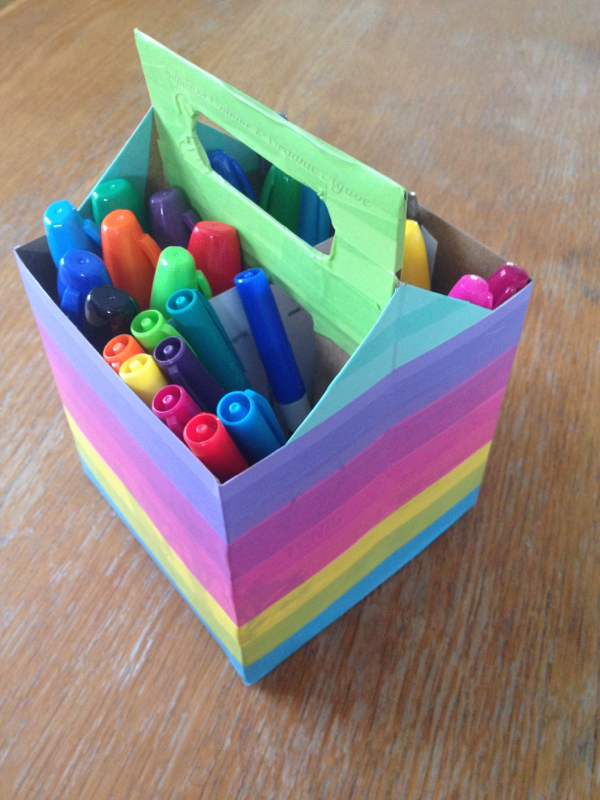
And lastly, I received this gem in the mail on the same day that I got a gift of sharpies from a dear friend.

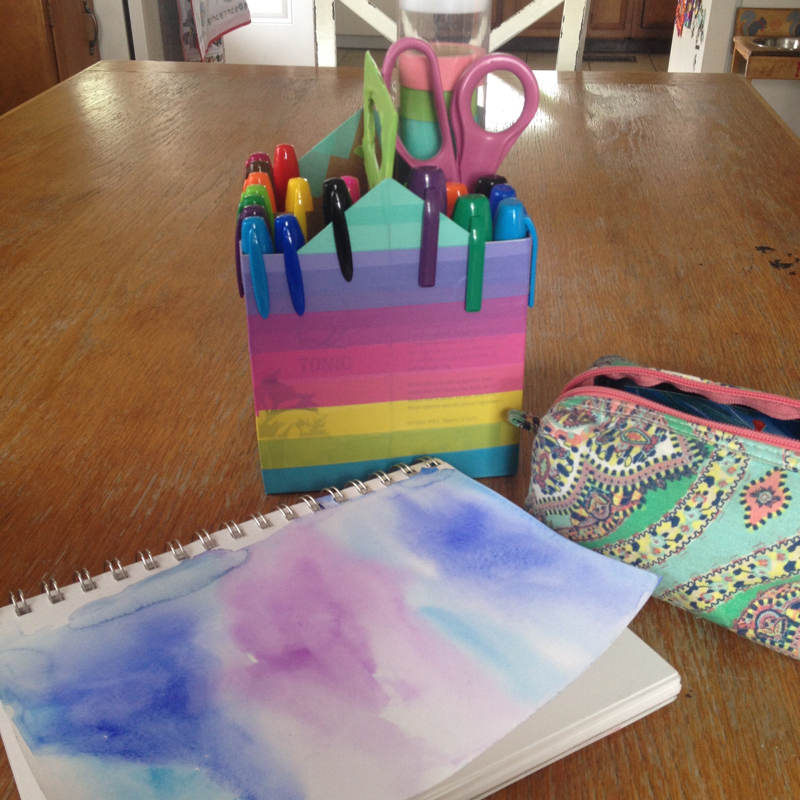
I am enjoying working my way through the compositional prompts. I have some ideas for holiday gifts that need a little polish and I think once I get through this book I will be good to go.

What are you working on?

A musical interlude

6/22/2015

 
Picture

I went and got myself a ukulele a few weeks back and have been enjoying it tremendously. I was able to play the Happy Birthday song for my youngest on her birthday (which is both incredibly cheesy and incredibly fun). I know about 7 or 8 chords and can play a bunch of different silly songs (I totally rock the Hokey Pokey). The ultimate goal is to be a ukulele playing Storytime librarian, so I am going to keep plugging away until I have the confidence necessary to play to a room full of small, eager faces.

Paint!

6/10/2015


There are few things in life that make me happier than painting. Over the past two weeks, I have been working on prepping a new art journal. I'm taking Alisa Burke's online Art Journaling class (because learning new things is good!) and some of the stuff I already knew but some of it is brand new.

When you have been painting for most of your life (I remember getting my very first watercolor set when I was 5), you feel like you have tried everything there is to try. It is really exciting to learn a new twist on an old technique or (as is common in Alisa Burke classes) to see techniques combined in a way that makes them feel new and fresh again.

Picture
Picture
Picture

The best part about taking a class is that it rearranges all the stuff you know. It's like somebody flipped a switch and now I am able to make new connections and bring together things that I wouldn't have considered before.

Picture
Picture

If you are even a little bit into making stuff with your hands, I highly recommend checking out Alisa Burke's website ( http://alisaburke.blogspot.com ) and classes.

Lamp work glass beads

6/9/2015


I have this life rule about learning new things. And the rule goes something like this: DO IT.

So when my friend Jenny offered to teach me how to make lamp work glass beads I said yes. Actually, first I said "that would be cool" and then a few months went by and then I was ready to learn.

So one sunny Friday afternoon, I got to play with fire and molten glass.

Picture
Jenny makes a HUGE bead
Picture

Once the beads are made, they go into a kiln to be annealed. Then you have to removed them from the mandrel with a special tool.

Picture
Not pictured: the two beads swiped by my thieving children.

At first it was intimidating because that butane torch is both loud and REALLY REALLY hot and I was sure that I was going to make a huge mess.

My first bead was a sloppy lopsided melted lollipop looking thing. I asked Jenny to make another so I could watch her and figure out what I was doing wrong.

My next few beads turned out better. Obviously to be proficient I would need to make more than five beads. I had fun and it was really cool to see the finished product.

For the record, working with fire and molten glass is really satisfying.

Art supply caddy

6/7/2015


Hey guys! I have been working on painting and planning and figuring out this whole work/art/life balance and it has taken me a few weeks, but I think I have got it.

Maybe.

We will see.

I recently purchased a whole mess of new Sharpie markers and needed a way to move them from room to room (as I am a migratory doodler). I did what any of you would do--I went to the art room and looked at what I already had to work with.

I present to you: a washi tape marker caddy.

Picture
Picture
There were gaps at the bottom of the box, so I patched them with paper.
Picture
Cover the bottom of the box with tape and work up.
Picture
Cut the corners and fold them over for a clean look
Picture
The trickiest part was the handle. I taped the top and bottom, and then wrapped the middle portion.
Picture
All wrapped up. If you wanted to hide the design on the box, you could wrap the whole thing in paper first.
Picture
Now I can take my markers everywhere!
Picture

    Kara DeCarlo

    Visual artist & librarian. 

      Kara’s Monthly Roundup Newsletter

    Subscribe to Newsletter

    Categories

    All
    Art
    DIY
    Girl Scouts
    Nature
    On Books
    Science
    Travel

    Archives

    March 2023
    July 2022
    April 2022
    March 2022
    February 2022
    December 2021
    November 2021
    October 2021
    February 2021
    December 2020
    September 2020
    August 2020
    August 2016
    July 2016
    May 2016
    April 2016
    December 2015
    August 2015
    July 2015
    June 2015
    May 2015
    March 2015
    February 2015
    August 2014
    July 2014
    June 2014
    May 2014

    Categories

    All
    Art
    DIY
    Girl Scouts
    Nature
    On Books
    Science
    Travel

    RSS Feed

Proudly powered by Weebly
Photos used under Creative Commons from Jim Larrison, beketchai, KathrynW1, Orin Zebest, gruntzooki